العربية
 Ελληνικά
 עברית
עברית
 Русский
 Українська
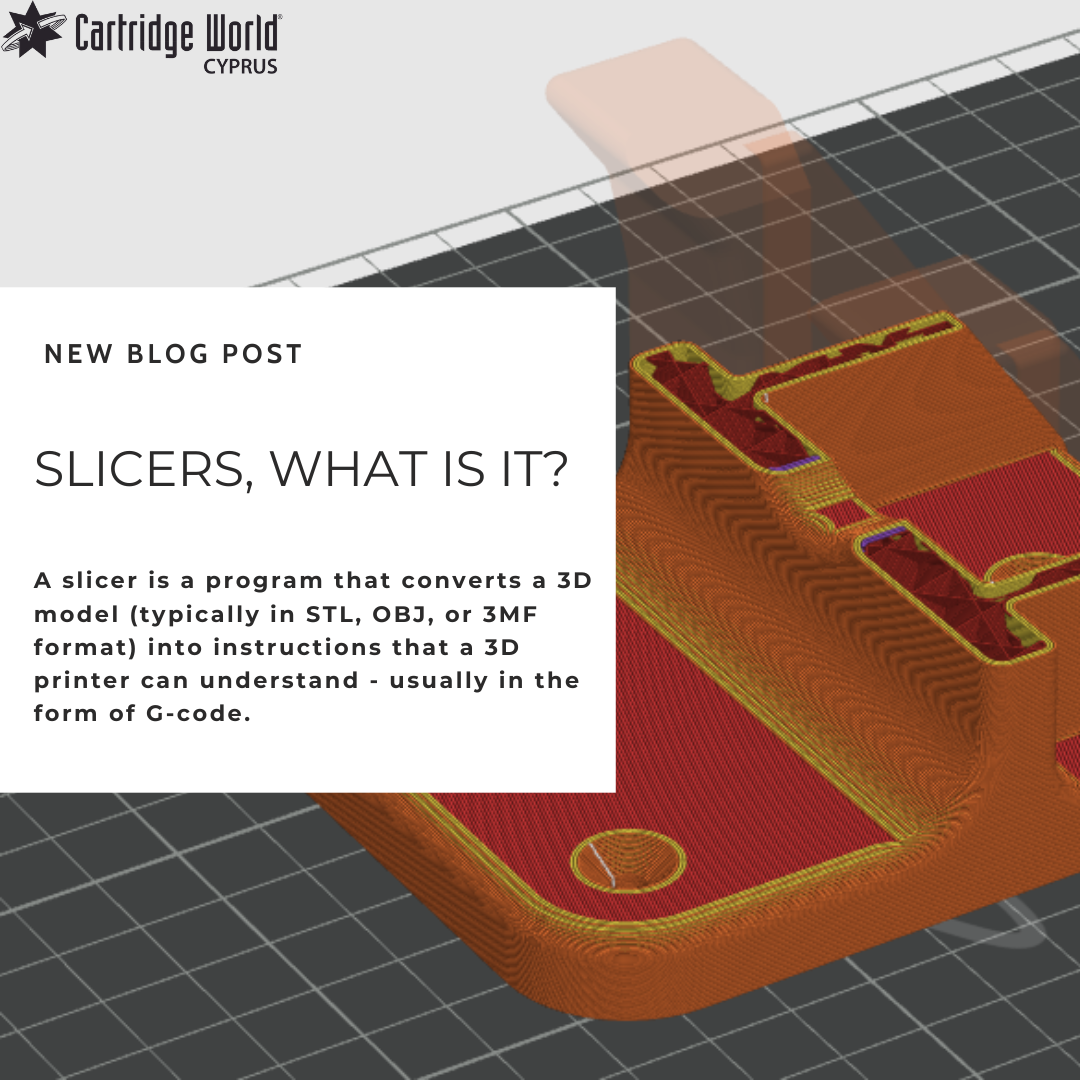
Slicers, what is it?
3D PrintingA slicer is a program that converts a 3D model (typically in STL, OBJ, or 3MF format) into instructions that a 3D printer can understand - usually in the form of G-code.
What the slicer does:
- Slices the 3D model into thin horizontal layers.
- Calculates the path the printer’s nozzle should follow for each layer.
- Generates G-code instructions for the printer, including:
- Movement commands (X, Y, Z coordinates)
- Extrusion instructions (how much filament to push)
- Speed and temperature settings
- Fan and support control
Key features of slicers:
- Layer height adjustment (resolution)
- Infill density and pattern
- Support structures generation
- Print speed and temperature settings
- Preview of tool paths
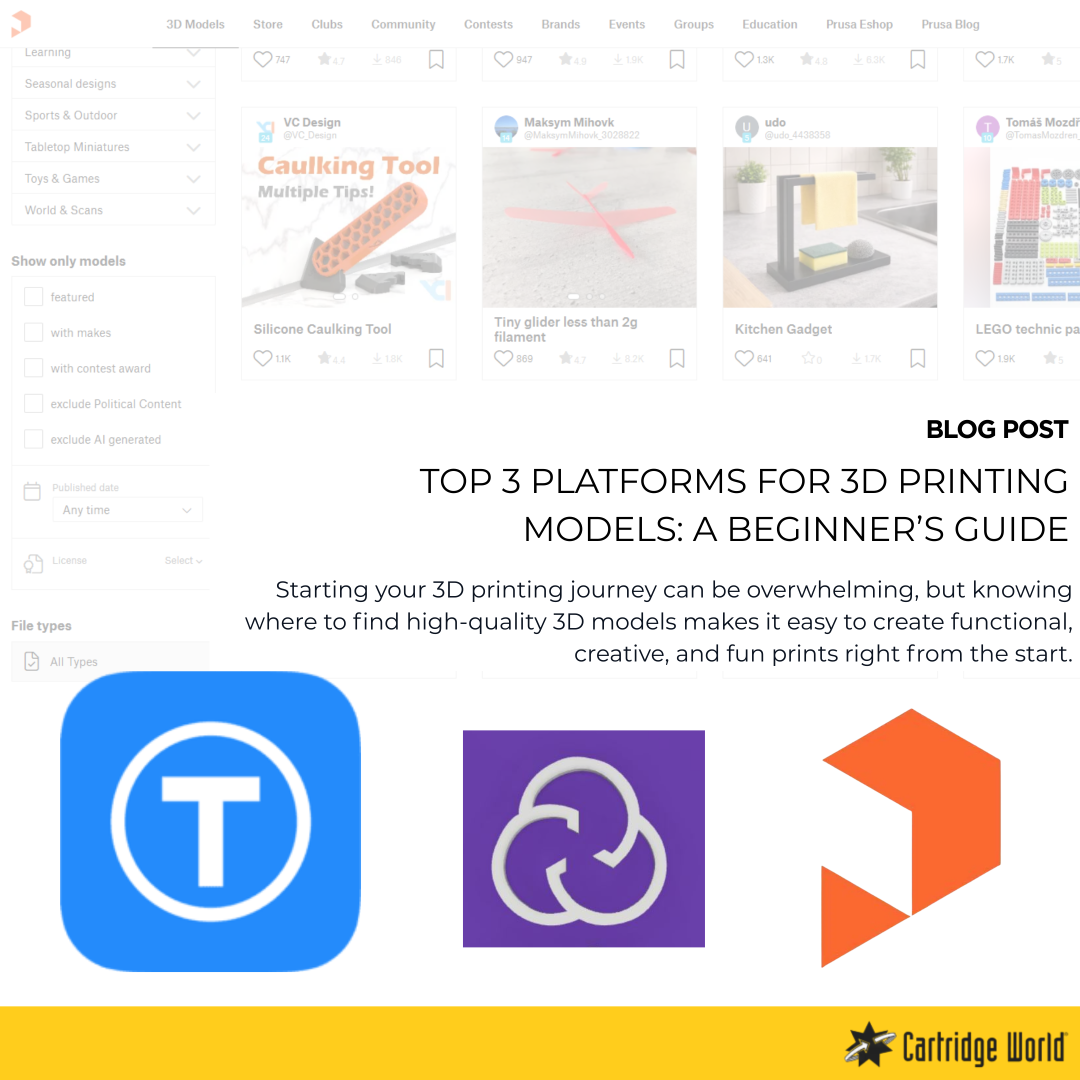
Popular slicers:
- Ultimaker Cura (free, open source)
- PrusaSlicer (optimized for Prusa printers, also open source)
- Simplify3D (paid, known for fine control)
- Bambu Studio (for Bambu Lab printers)
- OrcaSlicer (community-forked, popular for advanced control)
In short, a slicer is a critical step in turning your digital 3D design into a physical object by translating it into precise, machine-readable instructions.
But a slicer is more than that, it manages the profiles for the different materials you use, the profiles for the different print quality you need and often controls the communication with the printer.
Material Profiles
Material profiles are used to let the slicer know what material you are going to print with. The profile for PLA is very different from the profile for PETG. For instance, the nozzle temperature for PLA is between 180 and 220C while for PETG it usually is between 220 and 250C.
Print speed, retraction, bed temperature, shrink factor, extrusion factor, all these settings can be set up per filament type and brand. It takes a bit of time to tune a profile to a specific material, but some slicers have a big collection of material profiles available. For instance, PrusaSlicer has about 80 profiles available for their own printers. Orcaslicer has a Calibration tool that includes a lot of test prints to tune the filament you are developing a profile for.
PrusaSlicer and OrcaSlicer allow you to develop filament slicing profiles that are locked into a specific printer. So, you can have a Spectrum PLA-HS that is tuned for the Neptune 4Pro but will not work properly on the Ender3. Locking it to a printer makes it easier to select the correct profile to use.
Material profiles are basically the profiles that determine what you are printing with. It works together with Printing profiles.
Printing profiles
The printing profiles define how you want the part to be printed. It defines the layer height, the speed, the wall thickness, infill levels, top layers etc.
This means you can have a profile for strong parts, a profile for fast draft prints, or a profile for high detail super smooth prints.
Usually, the name of the profile reflects all this, for instance: “0.3 Quick Draft” This profile would have a layer thickness of 0.3mm, print at top speed and only do 2 outer layers all around and an infill of 10% for example.
Communication
There are 3 ways you can send a print job to your printer.
- Via the Internet
- Via a local network
- A file on a USB stick
Some printers allow all three, some only 1 of them. Most of the slicers will accept all three of the communication methods.
Explore 3D Printing today: https://cwcyprus.com/department/3d-printing